Understanding Roomba Charging Basics
Getting to Know Your Roomba's Charging System
Understanding the basics of how your Roomba charges is crucial for maintaining its performance and ensuring it operates smoothly. At its core, the Roomba's charging system revolves around a few key components: the battery, charging dock, and charging contacts. Each part plays a vital role in ensuring your robot vacuum stays powered up and ready to clean.
The battery is the heart of your Roomba. It's essential to ensure the installed battery is in good condition to avoid any charging issues. Over time, the battery might degrade, leading to shorter cleaning cycles or the Roomba not charging at all. Regular maintenance and timely replacement can help in prolonging its life.
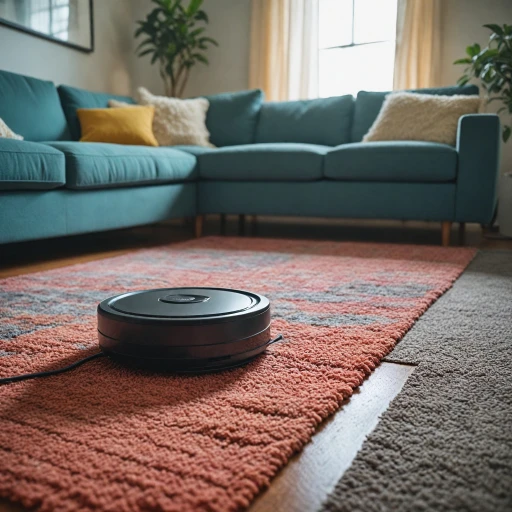
Next, the charging dock or base is where your Roomba returns to recharge. It’s important to place the dock on a flat surface and ensure it's plugged into a working outlet. Make sure there's enough space around the dock so the Roomba can easily find its way back. If the Roomba won’t charge, it might be due to the dock not being properly connected or positioned.
Then, there are the charging contacts. These are the metal pads on both the Roomba and the dock that must touch to allow charging. Keeping these contacts clean is crucial. Dust or debris can accumulate, causing a charging error. Regularly clean the contacts with a dry cloth to ensure a good connection.
Lastly, software and tech play a role in the charging system. Roombas are equipped with sensors and software that help manage charging cycles. Sometimes, a simple reset can resolve charging issues. If you encounter an error code, it might indicate a problem with the charging system or battery.
For more insights on resolving common Roomba issues, including specific error codes, you might find this guide on Roomba error codes helpful.
Common Reasons Your Roomba Won't Charge
Identifying Key Charging Problems
Robot vacuums like the iRobot Roomba make cleaning easier, but they can sometimes encounter charging issues. Understanding these problems is the first step in resolving them. Here are some common reasons your Roomba won’t charge effectively:
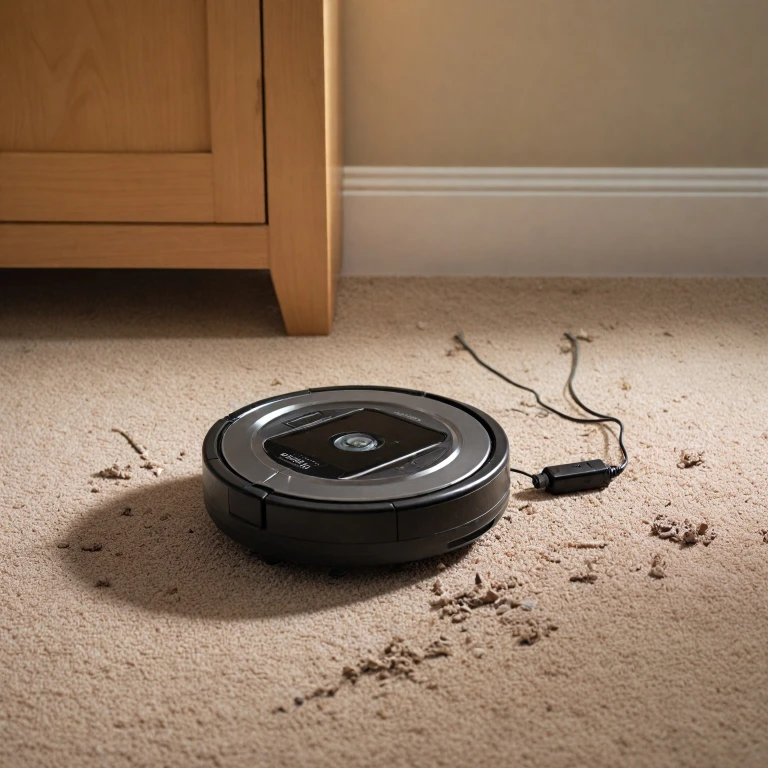
- Dirty Charging Contacts: Dust and debris can accumulate on the charging contacts of your Roomba and its docking station. When these surfaces aren't clean, your robot vacuum won't connect properly, leading to charging issues.
- Incorrect Dock Placement: Ensure that the charging dock is placed on a flat, dry surface. If the dock isn't stable, the Roomba may not dock correctly, resulting in a poor connection.
- Battery Issues: The installed battery in your Roomba might be aging or defective, which can lead to charging errors. Regularly checking the health of the battery is vital.
- Software Glitches: Occasionally, software errors can affect the charging system. Performing a reset might help resolve such glitches.
- Environmental Interference: Presence of objects that interfere with the signal between the Roomba and its charging base could cause charging errors.
Addressing these key issues will help you get your vacuum cleaner back to its top performance, minimizing downtime and maximizing cleaning efficiency. For a more in-depth understanding of similar issues, consider exploring this guide on powering through cleaning obstacles.
Troubleshooting Charging Problems
Essential Steps to Troubleshoot Roomba Charging Problems
When facing charging issues with your Roomba, it can be frustrating, but there are several steps you can take to resolve them before seeking professional help.- Check the Power Source
- Confirm that the charging dock is plugged into a working outlet.
- Ensure the charging station's indicator light is on, if applicable.
- Inspect Charging Contacts
- Examine the charging contacts on both the Roomba and the dock. If there's buildup or dirt, it may prevent proper contact.
- Use a clean, dry cloth or a soft brush to gently remove dust and debris, ensuring the contacts are fully exposed. This can resolve many charging issues related to poor connection.
- Ensure Proper Dock Placement
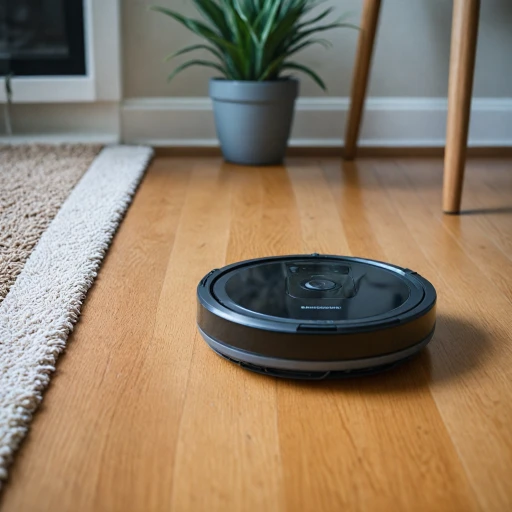
- Verify that the dock is on a hard, flat surface. Robot vacuums can struggle to connect properly if the dock is on a carpet or uneven floor.
- Clear obstacles around the base to provide Roomba with a direct path to dock without disturbances.
- Reset the Software
- Sometimes a simple software reset can fix charging problems. Follow the iRobot Roomba's specific instructions for resetting your model.
- Keep an eye out for any error codes or notifications on the vacuum cleaner's interface.
- Inspect the Installed Battery
- Make sure the battery is correctly seated. An improperly installed battery can lead to Roomba won’t charge and won charge issues.
- If the battery appears swollen or damaged, this might indicate it's time to consider a replacement.
- Review the Charging System
- It's possible that your Roomba's charging system is experiencing a malfunction. You may need to consult the owner's manual or contact customer support for guidance on possible diagnostic modes.
When to Replace the Battery
Signs Indicating It’s Time for a Battery Replacement
At some point, even the most well-maintained irobot roomba battery will reach the end of its lifespan. Recognizing the signs early can save you time and frustration:- Reduced Run Time: If your robot vacuum runs out of charge much quicker than it used to, consider that the installed battery may be failing.
- Charging Errors: Persistent charging errors or error codes might indicate a deeper issue than just dirty contacts. Double-check that contacts clean efforts don’t resolve these problems.
- Won’t Hold Charge: A battery roomba that doesn't maintain a charge despite being plugged into the charging dock for hours suggests it's time for a replacement.
How to Replace Your Roomba’s Battery
Replacing the battery in your roomba doesn't have to be a daunting task. Here's how to go about it:- Power Down: Switch off your roomba before removing the battery to ensure safety.
- Remove the Battery Compartment Cover: Most roombas have a cover on the bottom that’s easy to slide open.
- Take Out the Old Battery: Carefully remove the old battery, ensuring not to damage the charging contacts.
- Install the New Battery: Insert the new battery, making sure to align it correctly with the contacts.
- Secure the Compartment and Reset: Close the compartment and perform a soft reset of your vacuum cleaner by pressing the appropriate buttons based on the model.
Extending Battery Life
To maximize your roomba battery's lifespan, consider the following practices:- Regular Cleaning: Keep the charging contacts free of dust and grime. A clean charging dock will ensure efficient energy transfer.
- Charging Protocol: Allow the battery to fully charge and discharge periodically. This helps in calibrating the measuring system.
- Avoid Overcharging: Leaving your vacuum cleaner on the base excessively can lead to battery degradation.
Maintaining Your Roomba for Optimal Performance
Best Practices for Keeping Your Roomba in Prime Condition
To ensure the longevity and performance of your robot vacuum, it's essential to engage in regular maintenance. With a few simple steps, you can optimize your Roomba's operation and minimize charging issues.- Regular Cleaning: Keep the charging contacts clean. Dust and debris on these sensitive areas can cause charging errors. Use a soft cloth to gently wipe the contacts on both the Roomba and the charging dock. Consistent cleaning ensures efficient power transfer and avoids any charging issues.
- Proper Charging Practices: Always place your Roomba on the docking station after use. This not only keeps the battery charged but also prevents errors related to a depleted battery. However, avoid leaving the Roomba unplugged for extended periods as this could result in battery degradation.
- Software Updates: Make sure the robot's software is up to date. iRobot often releases updates that can improve charging performance and resolve any error codes. Regularly check for and install these software updates to ensure the best functionality.
- Check and Rotate the Installed Battery: Over time, the installed battery might wear down, impacting both the Roomba’s cleaning performance and charging reliability. If you notice consistent charging problems or decreased vacuum time, consider replacing the battery Roomba or rotating it to maintain balance.
- Inspect the Charging Base: Ensure the charging base or dock is placed in an open and unobstructed space. Any obstacles or interferences can disrupt the charging process.
Seeking Professional Help
When to Seek Expert Assistance for Charging Issues
Your iRobot Roomba is a sophisticated machine, and despite the many troubleshooting steps you can take at home to fix charging errors, such as ensuring the charging contacts are clean and confirming the installed battery is secure, sometimes the issue might be outside of your skill set.
- Unresolved Charging Problems: If you've checked the charging dock, cleaned the contacts, reset the robot, and still it won't charge, it may indicate a more complex issue within the charging system or software errors that can't be fixed with basic home solutions. It might be time to turn to professionals for diagnosis and intervention.
- Persistent Error Codes: Seeing persistent error codes or flashing lights that aren't resolved after performing the usual troubleshooting steps can point towards an internal tech problem that needs expert eyes. An authorized iRobot service can delve deeper into these charging issues.
- Battery Issues: If replacing the battery hasn't resolved the charging woes or if your vacuum cleaner behaves erratically, like charging but not holding power, a professional may be needed to assess the health of the battery Roomba.
Experts can help identify if the root cause is with the robot vacuum's hardware, installed battery, or perhaps an unseen problem with the charging station itself. It's essential to use certified techs to ensure repairs or replacements are done following manufacturer's guidelines, safeguarding your vacuum cleaner's longevity and avoiding the risk of further damage.